
That's why I made two versions of the Miette first (one and two), and a couple of scarves for good measure. For practice. I don't think anything could have actually prepared me for the intricacies of this knitting pattern though.
Tasia wasn't kidding. This thing is hard! And it took me more than 9 months to knit, and a couple of weeks to get around to adding ribbon, snaps and buttons.
I knit my swatch with 4mm needles, and that turned out a little tight, so after doing a bit of maths, went up one size from my measurements, and made a size 38 using the 4mm needles. The finished cardigan is pretty close to my actual measurements, with no negative, but in some places quite a bit of positive ease. After wearing it for the better part of a day, I'm actually thinking that maybe I should have gone with the size down. Oh well, it doesn't look that bad.

At the start, is a complicated yoke, where the only reason I had a clue if I had it right was that the pattern finished correctly at the end of each row, then there's the LLI and RLI to deal with (thank you google). I'm still not sure that I got those right, but I at least I was consistent with what I did, and that's what counts, right? The next hurdle to deal with was turning in the middle of rows.
I wasn't expecting to have to work out how many rows to do either. You keep knitting until it extends over your bust. Hmmm. When I got to the end of ball #3 at this stage, I was worried that I wouldn't have enough of my yarn. I had worked out that I would only need 9 balls, and that was with a calculation to extend the length a bit too! Knowing that if I left buying an extra ball I may miss out on the same batch, I decided to buy another ball though, just in case. I didn't want to risk running out, especially since I didn't know how my finished length was going to turn out compared to the pattern.

Not that you can really tell anything based on this photo, but I measured from here that I needed another 15mm of knitting to reach my underbust, which I judged by the underwire of my bra. My husband rather helpfully suggested that I wear my bra on the outside of my shirt so that you could see in the photo where that was! Ummm, no.
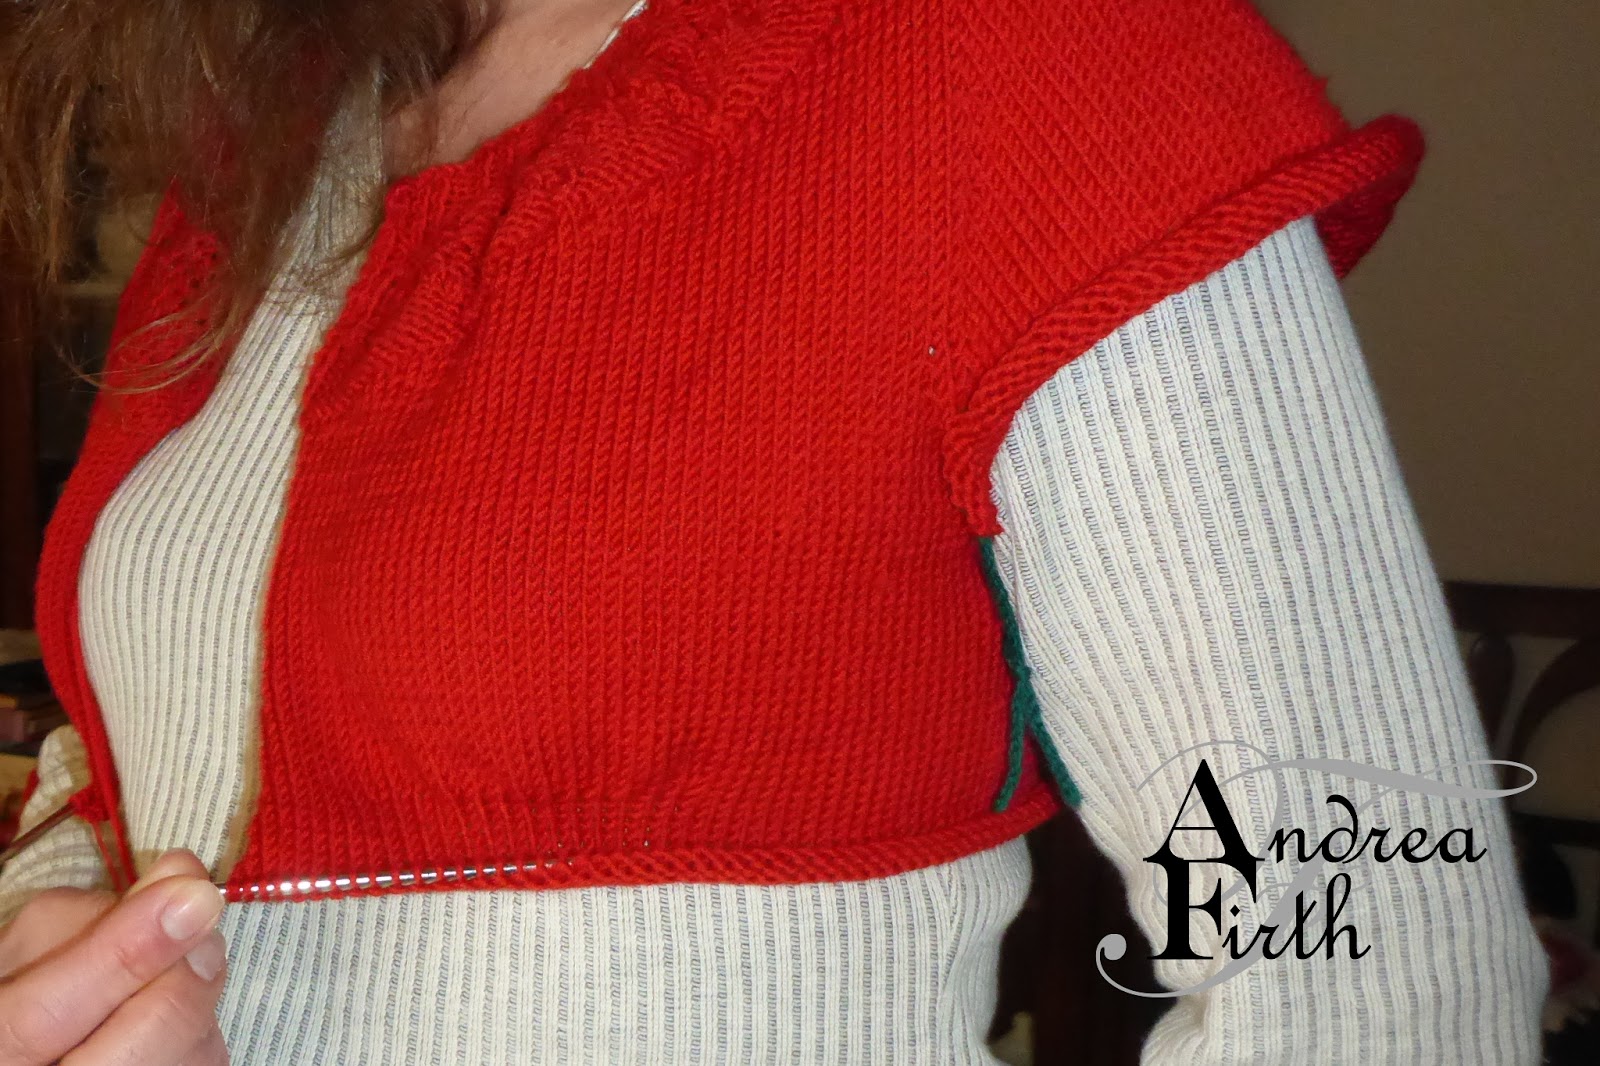
You can see more clearly in this photo where the underbust is.
There's a little more measuring to do from the underbust to the top of the pattern above the ribbing, so there's a bit of guesswork involved to get your length right. A little longer would have been nice, but this is fine too.

The last fiddly bit was the button band. If I'd read ahead I would have followed the method of the Miette instead, but after frogging one of the sides twice, I finally got there (serves me right for trying to knit it whilst at Knitting Group - too much talking and not enough concentrating.)
I was a little worried that the sleeves were going to be too big. The top of the sleeve started large, and I had read another review that where the whole cardigan came out too big. Fortunately for me, it's just the sleeve head that was a little larger, and at the wrist it fits fine. And that's just how I like it, so it was all good.

For the button band, I had dyed some petersham ribbon and buttons, whilst trying out some new dyes. Unfortunately they didn't come out as dark as I would have liked (think PINK), so I picked up some ribbon, buttons and snaps whilst shopping recently. When I found these cute little buttons with black accents, I put the red ribbon back on the shelf and bought black instead. Such a rebel, aren't I? I even prewashed the ribbon, you know, just in case the colour bled, and waxed my thread to sew on my snaps.
 |
| Button and snap close up |
 |
| Wide neckline |

No comments:
Post a Comment